


Nail extensions are the secret to long, gorgeous nails without waiting weeks for them to grow naturally. Whether you’re getting ready for a special event or just want to feel fabulous every day, learning how to apply nail extensions at home can save you time and money. No more expensive salon visits—just a little practice, the right tools, and you’re set! In this guide, I’ll walk you through everything you need to know, from picking the best type of extensions to applying them like a pro. Let’s dive in and get those perfect nails started!
Table of Contents
What Are Nail Extensions?
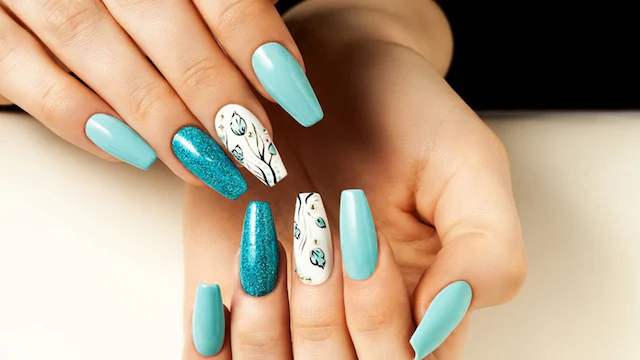
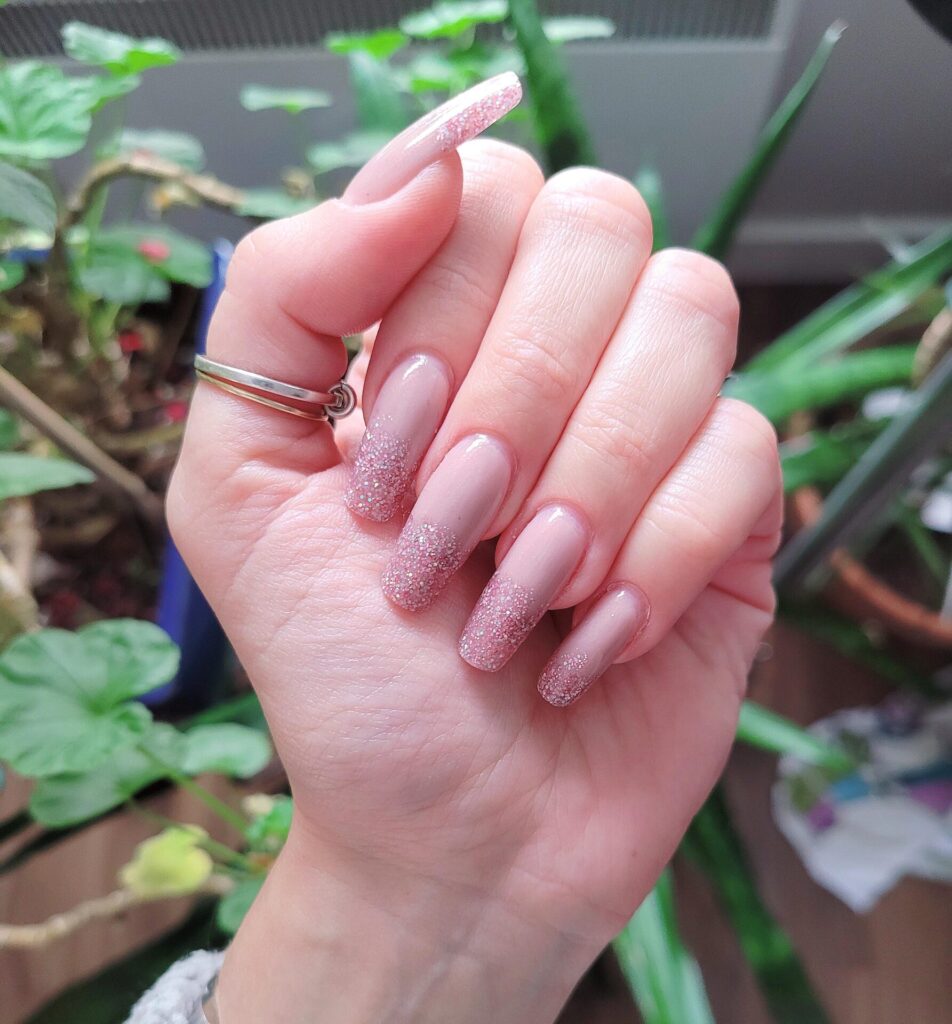
Nail extensions are artificial tips or forms added to your natural nails to make them longer and stronger. They’re a game-changer for anyone who struggles with weak or short nails. You can customize them with polish, designs, or even glitter to match your style. The best part? They last for weeks with proper care, giving you that salon-fresh look right at home.
If you’re new to this, don’t worry—it’s easier than it sounds. With a few supplies and some patience, you’ll be flaunting stunning nails in no time.
Types of Nail Extensions You Should Know
Before you start, it’s good to know the different types of nail extensions available. Each has its own vibe, so pick one that suits your needs.
Acrylic Nail Extensions


Acrylics are made by mixing a liquid (monomer) and a powder (polymer) to create a hard layer over your nails. They’re super durable and great if you want something tough that lasts up to three weeks. Perfect for beginners because they’re easy to shape and fix if you mess up.
Gel Nail Extensions


Gel extensions use a thick gel that’s cured under a UV or LED lamp. They look more natural than acrylics and have a glossy finish. These are awesome if you want flexibility and a lightweight feel, but you’ll need a lamp to set them—something to keep in mind.
Dip Powder Extensions

This method involves dipping your nails into colored powder after applying a base coat. It’s quick, doesn’t need a lamp, and is less damaging to your natural nails. If you’re after low maintenance, dip powder might be your go-to.
Each type has its charm, so think about what fits your lifestyle—durability, ease, or a natural look—and let’s move on to the fun part: applying them!
Tools You’ll Need for Nail Extensions
To get started, gather these essentials. Most are easy to find at a local beauty store or online:
Nail tips or forms (depending on your method) get here
Nail glue or resin, get here
Acrylic liquid and powder (for acrylics) or gel polish (for gels) get here
UV/LED lamp (for gel extensions) is get here
Nail file and buffer get here
Cuticle pusher and nipper, get here
Brush for applying products: get here
Alcohol wipes or nail cleanser, get here
Top coat and base coat get here
Having everything ready beforehand makes the process smooth. Trust me, you don’t want to be searching for a file mid-application!
Step-by-Step Process to Apply Nail Extensions
Now, let’s get to the main event—applying those extensions! Follow these steps carefully, and you’ll have gorgeous nails in about an hour.
Step 1: Prep Your Nails
Start with clean hands. Remove any old polish with acetone, then wash and dry your nails. Push back your cuticles gently with a pusher and trim any excess skin with a nipper. File your natural nails into a short, even shape—this gives the extensions a solid base.
Step 2: Pick and Size Your Nail Tips
Grab your nail tips and find ones that match the width of your natural nails. Too big or too small, and they’ll look off. Lay them out in order so you’re not fumbling later. If you’re using forms instead of tips, skip to shaping them around your nails in the next step.
Step 3: Apply the Tips
Put a tiny drop of nail glue on the edge of the tip and press it onto your natural nail. Hold it for 10-15 seconds until it sticks. Don’t flood it with glue—less is more here. Once all tips are on, trim them to your desired length and file the edges for a smooth finish.
Step 4: Add the Extension Layer
For acrylic: Dip your brush in the liquid monomer, then into the powder to form a small bead. Place it on the nail and shape it quickly before it hardens. Repeat until you’ve covered the tip and natural nail.
For Gel: Apply a thin layer of gel over the tip and your nail, then cure it under your lamp for 30-60 seconds. Add another layer if you want more thickness.
For dip powder: Brush on the base coat, dip your nail into the powder, and tap off the excess. Seal it with another base coat layer.
Step 5: Shape and Buff
Once your extensions are set, use a file to shape them—square, almond, or stiletto, whatever you love. Buff the surface lightly to smooth out bumps, but don’t overdo it or you’ll weaken them.
Step 6: Finish with Polish
Wipe your nails with an alcohol wipe to remove dust. Apply a base coat, your favorite polish color, and a top coat for shine. If you’re using gel, cure each layer under the lamp. Let everything dry completely, and you’re done!
5 Common Mistakes to Avoid
I’ve seen a lot of beginners trip up here, so let’s save you the hassle:
- Skipping Prep: Dirty or oily nails mean extensions won’t stick. Clean them properly!
- Using Too Much Glue: It’ll spill over and look messy. A tiny drop is enough.
- Filing Too Hard: You’ll damage your natural nails or the extensions. Go gentle.
- Ignoring Cuticles: Piling product on cuticles looks sloppy—keep them clear.
- Rushing the Process: Take your time, especially with acrylics or gels, or they’ll lift.
- Avoid these, and you’ll be way ahead of the game.
How to Maintain Your Nail Extensions
To keep your nails looking fresh for weeks, follow these tips:
Wear gloves while washing dishes to avoid water damage.
Moisturize your cuticles daily with oil or cream.
File down any snags immediately to prevent lifting.
Avoid picking at them—it’s tempting but ruins everything!
Refill every 2-3 weeks as your natural nails grow out.
A little care goes a long way, and you’ll stretch that manicure further than you think.
Conclusion: Get Salon-Style Nails at Home
Applying nail extensions at home isn’t just doable—it’s fun once you get the hang of it! With the right tools and a bit of practice, you can skip the salon and still rock long, beautiful nails. Start simple, experiment with colors or designs, and enjoy the confidence boost that comes with a perfect mani. So, grab your supplies, follow this guide, and let your nails steal the show. What’s your favorite nail look? Try it out and see the magic for yourself!